

Introduction
Let us try to understand the need for virtual environments with an example. Assume that you are working on three projects Project_1, Project_2, and Project_3 in the same system/machine. Project_1 requires Python 3.6, Project_2 requires Python 3.7 and Project_3 requires Python 3.8. How do you handle such a situation?
If you are thinking to install everything in the base environment then be assured that you will get into issues sooner or later. The best approach is to create separate virtual environments for each project and use it accordingly.
Many of the beginners don’t understand the importance of using virtual environments. In this article, we’ll go through 7 most commonly used conda commands for managing virtual environments.

Virtual Environment
The main purpose of a Python virtual environment is to create separate environments for each project so that you will not run into dependency issues later in the project.
When discussing virtual environments, we come across the terms pip, conda, and venv a lot. So, let’s understand these terms before we continue further.
pip
Pip is Python’s standard package manager. When you install Python or Anaconda only some of the packages come pre-installed. If you need to install any package you will use the pip command such as pip install pandas to install the required packages. Note that pip is not used for managing the environments.
conda
Conda is both a package and environment manager. It means that you can use conda commands to install Python packages and also used for managing the virtual environments. When you install Anaconda/Miniconda, conda will get installed by default.
venv
The venv is a Python package that was added from Python 3.3 and it is used for managing the virtual environments. The venv is used only for managing the environments and is can’t be used for installing the packages.
One main difference between conda and pip is that pip can install packages only from the Pypi repository whereas conda can install from Anaconda Repository and Anaconda Cloud.
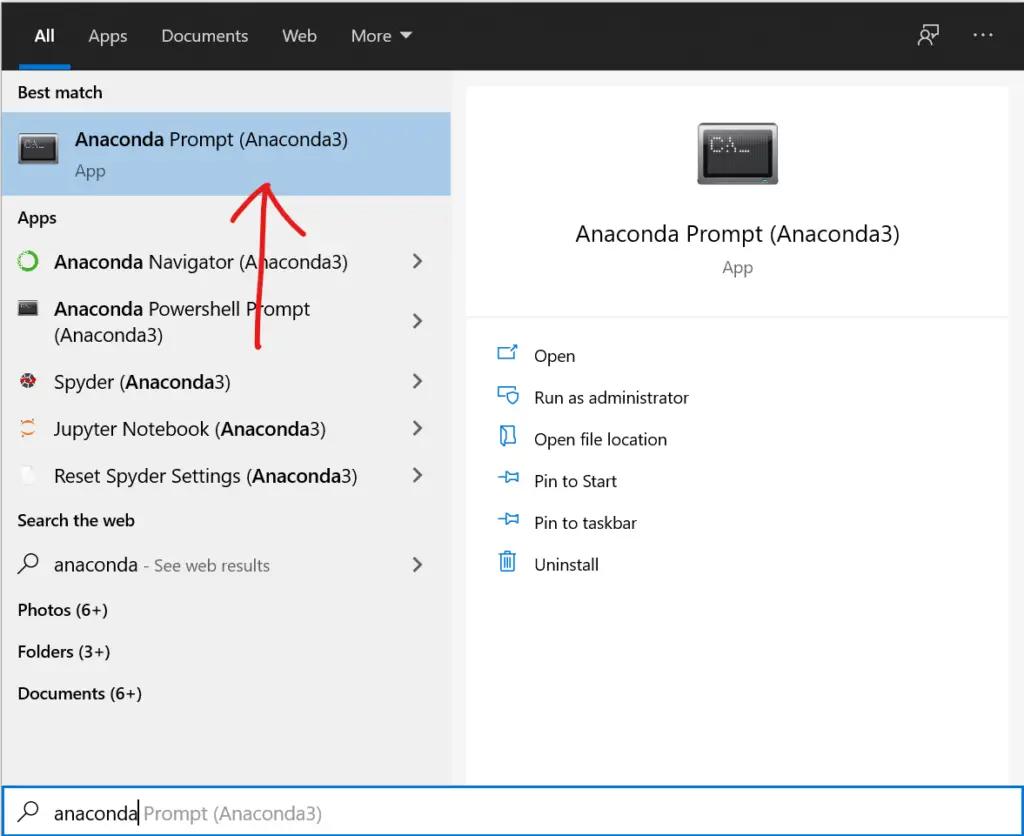
To run these commands, use the Anaconda command prompt.
Creating an environment
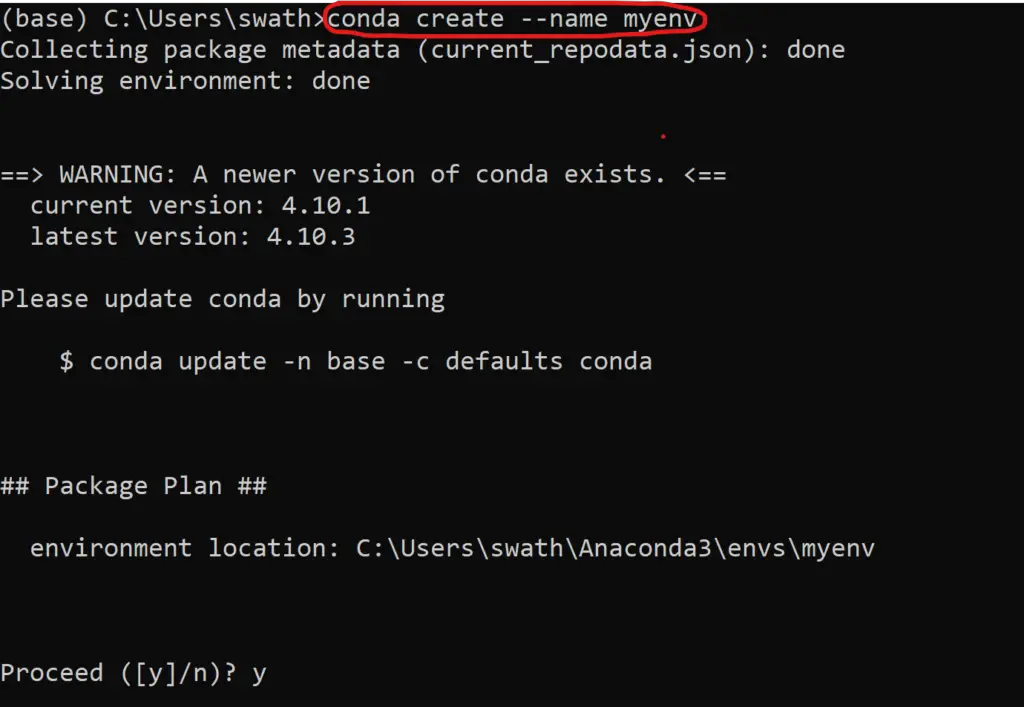
The below command will create an environment named myenv. You can use any environment name as you wish. By default, in Windows machines, all the environments will be stored in C:\Users\<user-name>\.conda\envs.
conda create — name myenv
When you open the anaconda command prompt, by default you will see the base environment. If you install any packages they will be installed in the base environment.

Create an environment with a specific version of Python
This will create an environment myenv with python 3.6 installed. After activating the environment, you can start installing any packages you need.
conda create --name myenv python=3.6
Create an environment with a specific package
This will create an environment myenv with spacy latest version. If you need to install a specific version of the package, you can replace spacy with spacy=2.3.0.
conda create --name myenv python=3.6
Create an environment with a specific version of Python & package
This command will create the environment python 3.6 and spacy 2.3.0. You can use as many packages as you need. If you need to install a lot of packages, the best practice is to use yml file which is discussed next.
conda create -n myenv python=3.6 spacy=2.3.0
Create an environment from an environment.yml file
If you have a long list of packages that need to be installed when creating the environment, you can create a yml file by including a list of packages that need to be installed and use it when creating the environment.
					environment.yml
name: myenv
dependencies:
- spacy>=2.3.0
- pandas
- seaborn
- scikit-learn
Once you have the yml file, run the below command will create an environment named myenv with all the packages from the yml file installed in the environment. You can create this file manually or you can also conda prompt to create a yml file which is discussed later.
conda env create -f environment.yml
Activating & Deactivating an environment
Activate
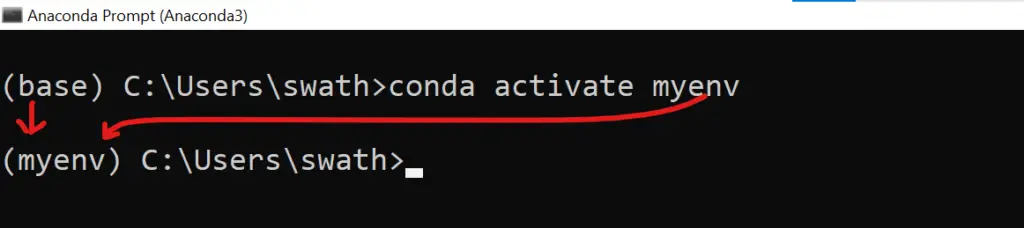
Once you have created the environment, to activate and start using, run the below command.
conda activate myenv
As you notice, after activating the new myenv environment, you will notice that (base) is replaced with (myenv) as highlighted below.
Deactivate
To deactivate, simply run the command –
conda deactivate
After deactivating the current environment, you can see that myenv is switched back to the base environment.

Cloning an environment
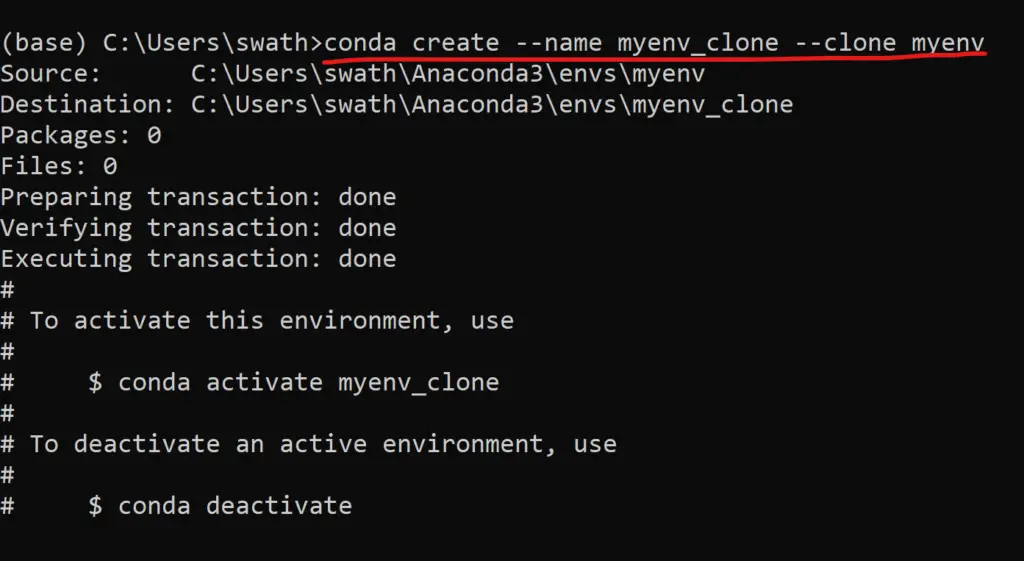
For any reason, if you need to clone the existing environment, the below command can be used. This will create a new environment named myenv_new by cloning myenv. This will clone all the packages including the python version.
conda create --name myenv_new --clone myenv
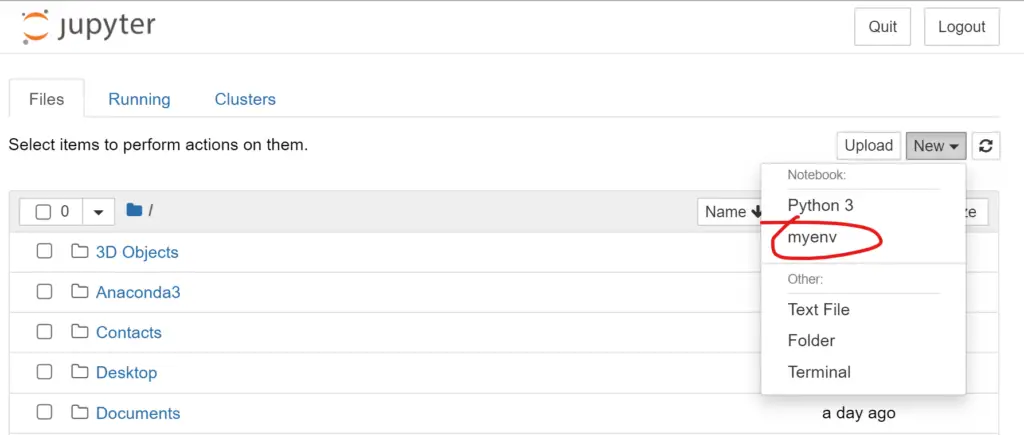
Adding virtual environment to Jupyter notebook
When creating a new Jupyter Notebook, by default, you are allowed to create using the base instance. What if you want to use the new environment for your jupyter notebook. Use the following two commands that will add a new environment (in this case myenv) to the Jupyter notebook. Refer to the screenshot below.
					conda install -c anaconda ipykernel
python -m ipykernel install --user --name=myenv
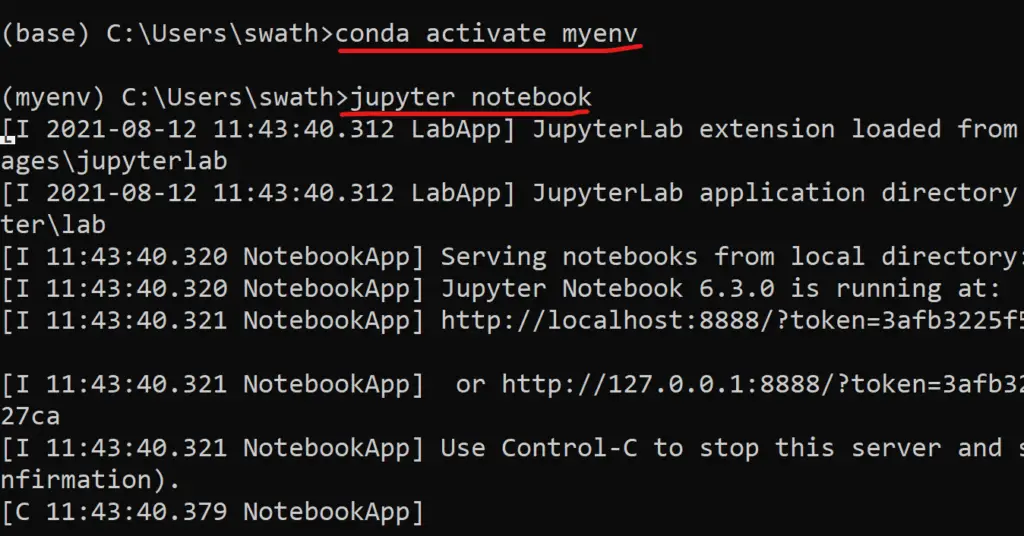
Another hack would be to activate the virtual environment first from the anaconda prompt and then running the jupyter notebook command that initiates the jupyter notebook with the current environment.
					conda activate myenv
jupyter notebook
Determining & Viewing your current environment
Lorem ipsum dolor sit amet, consectetur adipiscing elit. Ut elit tellus, luctus nec ullamcorper mattis, pulvinar dapibus leo.
					conda info --envs
    OR
conda env list
The below screenshot shows that there are 5 virtual environments.
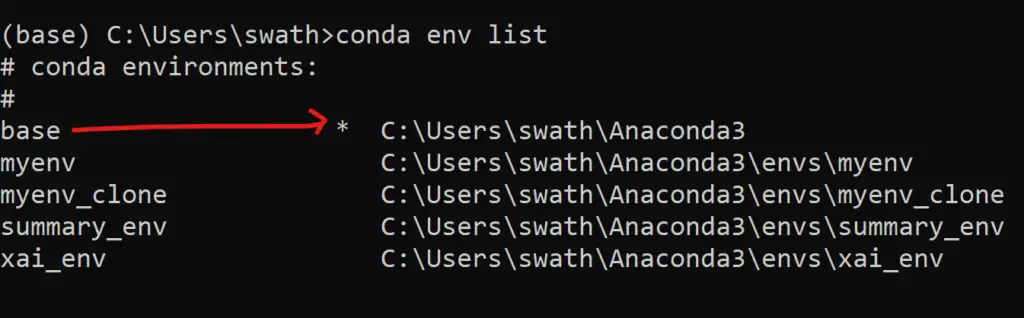
The asterisk indicates the current environment which is active at the time of running this command. In the above screenshot, you notice that the base environment is active.
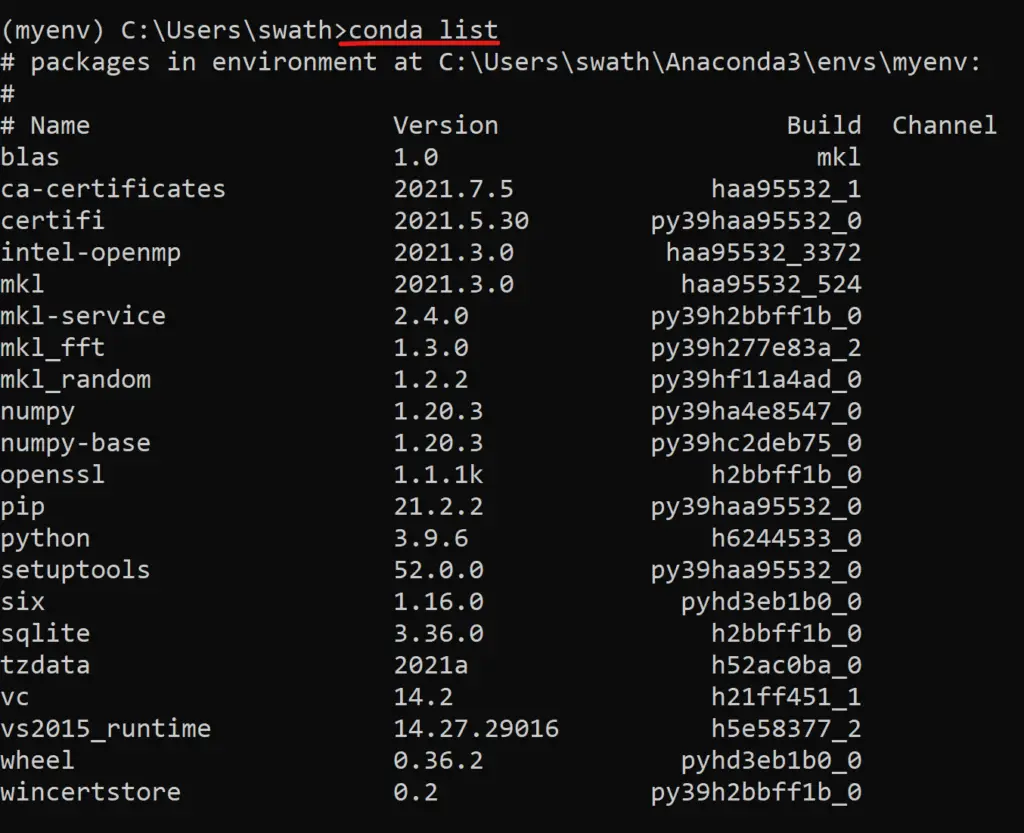
List of packages installed in an environment
At times you may want to see the list of all the packages that are installed in the current environment. In such a case, you can use the below command that displays all the packages installed as shown in the screenshot.
conda list
Sharing an environment
If you want to set up the same environment in your colleagues’ system, you can export environment details into yml file and then you that file to set up a similar environment in your colleague’s system.
First, you need to activate the environment and then run the export command to create the yml file with environment details as shown below.
conda activate myenv
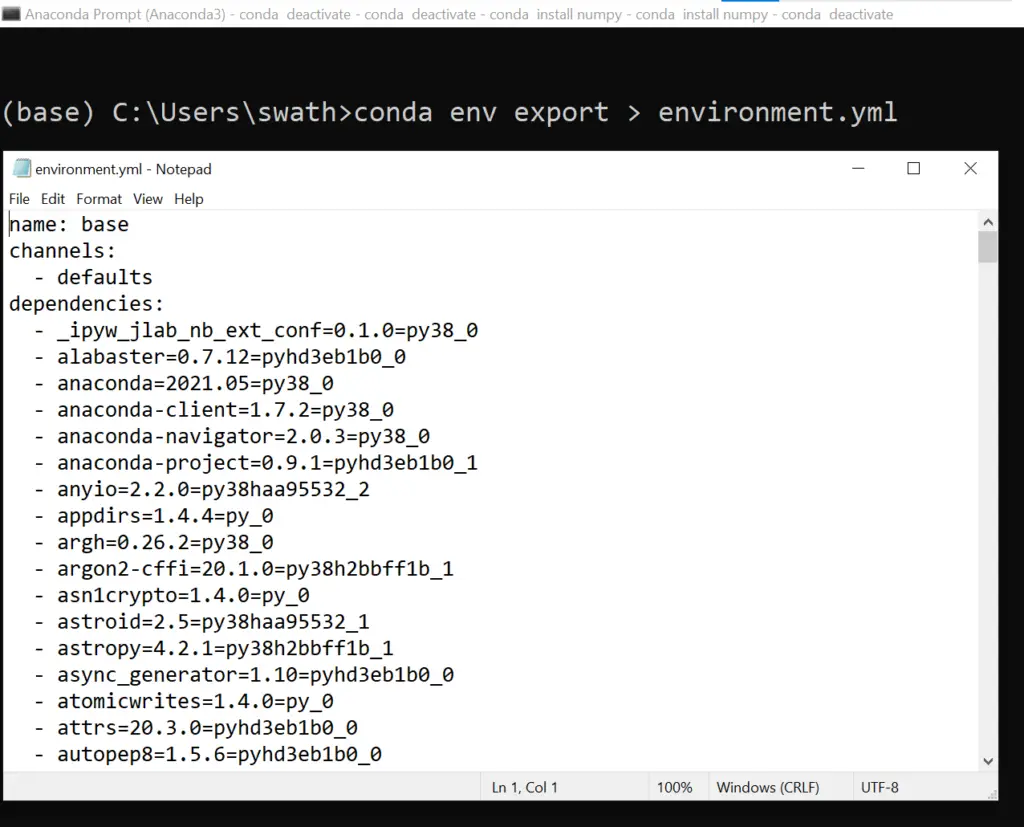
conda env export > environment.yml
You can locate the environment.yml file in the folder C:\Users\<<your_name>>.
In the below screenshot, you can see that we are able to execute the conda export command successfully for the base environment, and also you are seeing the content of the yml file.
Restoring an environment
Conda keeps track of all the changes to the environment so that you can easily roll back to the previous versions. The first command lists the history of each change to the environment and the second command is used to roll back to the specific version.
conda list --revisions
conda install --revision=<<revnum>> #replace <<revnum>> with number</revnum></revnum>
Removing an environment
The below command will remove the myenv environment. You can verify if the environment is removed by checking the result of conda info — envs.
conda remove --name myenv --all
Conclusion
These are the most commonly used commands used by all the data scientists and Python developers for managing different Python environments using Conda. Hope you find this article useful.
